Foiling – Everything You Need to Know
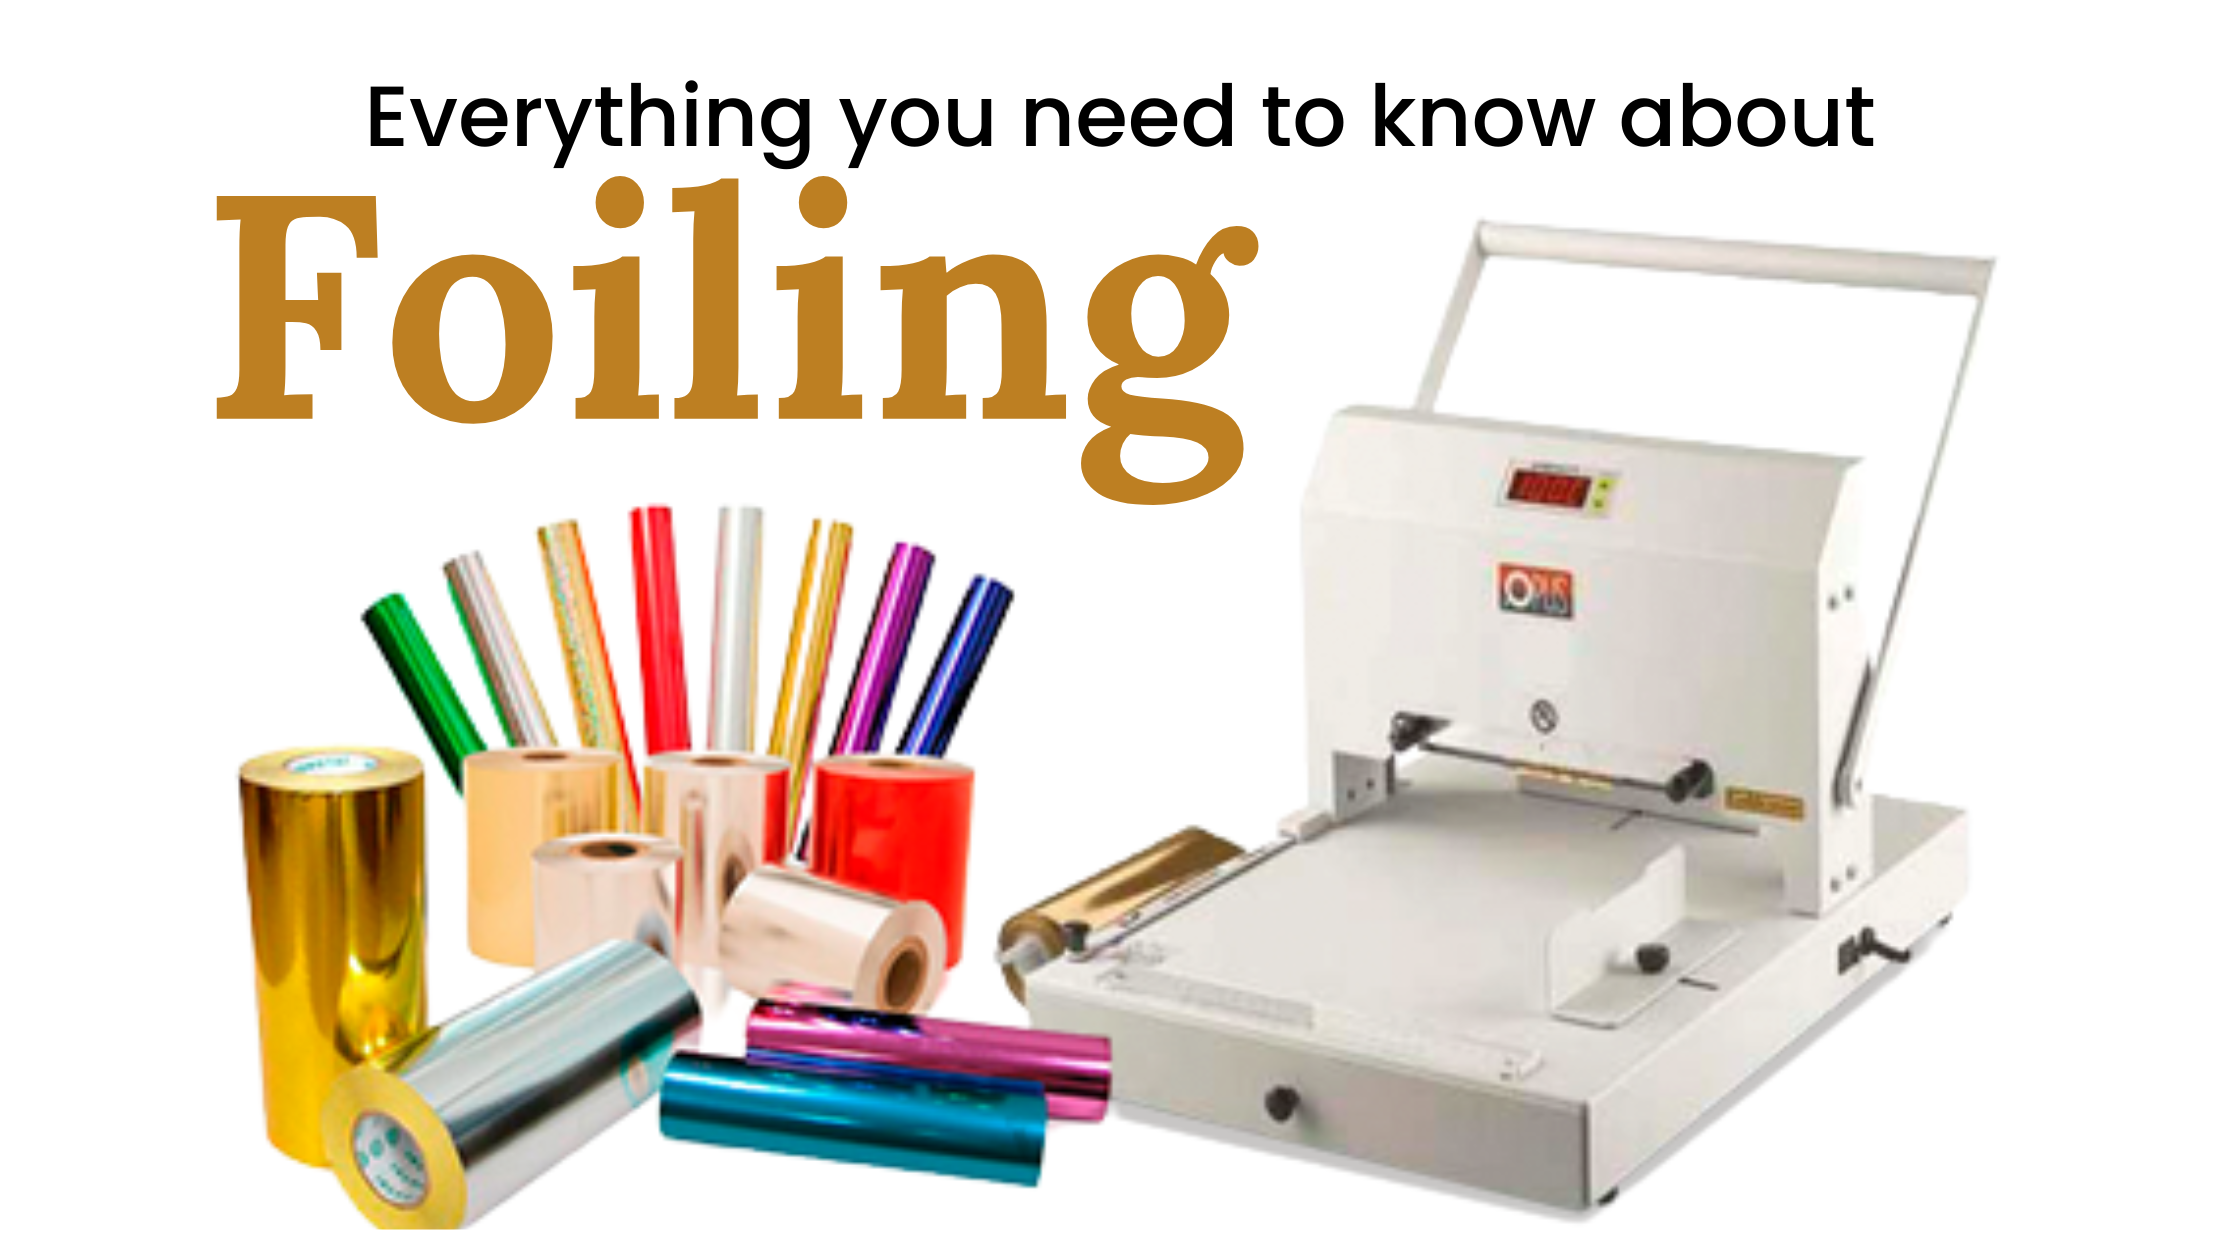
Have you ever wondered how to foil print and what supplies you'll need? I will explain everything you need to know about foiling in this extensive manual. To ensure that everyone can glitter and shine with their own foils, save it as a bookmark and use it as a reference. You can also share it with your friends on social media.
What Foil Fusing is
Standard toner-printed sheets can benefit from foil printing to get an attractive and polished appearance that isn't possible with conventional printing methods. Foil fusing makes it simple to hot-foil foil invitations, certificates, awards, greeting cards, and more. You can produce personalized foiled papers for individual or high-production use using a variety of foiling techniques.
How does Fuse Foiling Work?
Your normal toner-printed sheets may look more attractive and professional when foiled, which is not possible with conventional printing methods. Business cards, invitations, certificates, prizes, greeting cards, and more are simple to hot foil with foil fusing. You can produce custom foiled paper for use in high production or for personal use using a variety of foiling techniques.
What types of foils are there?
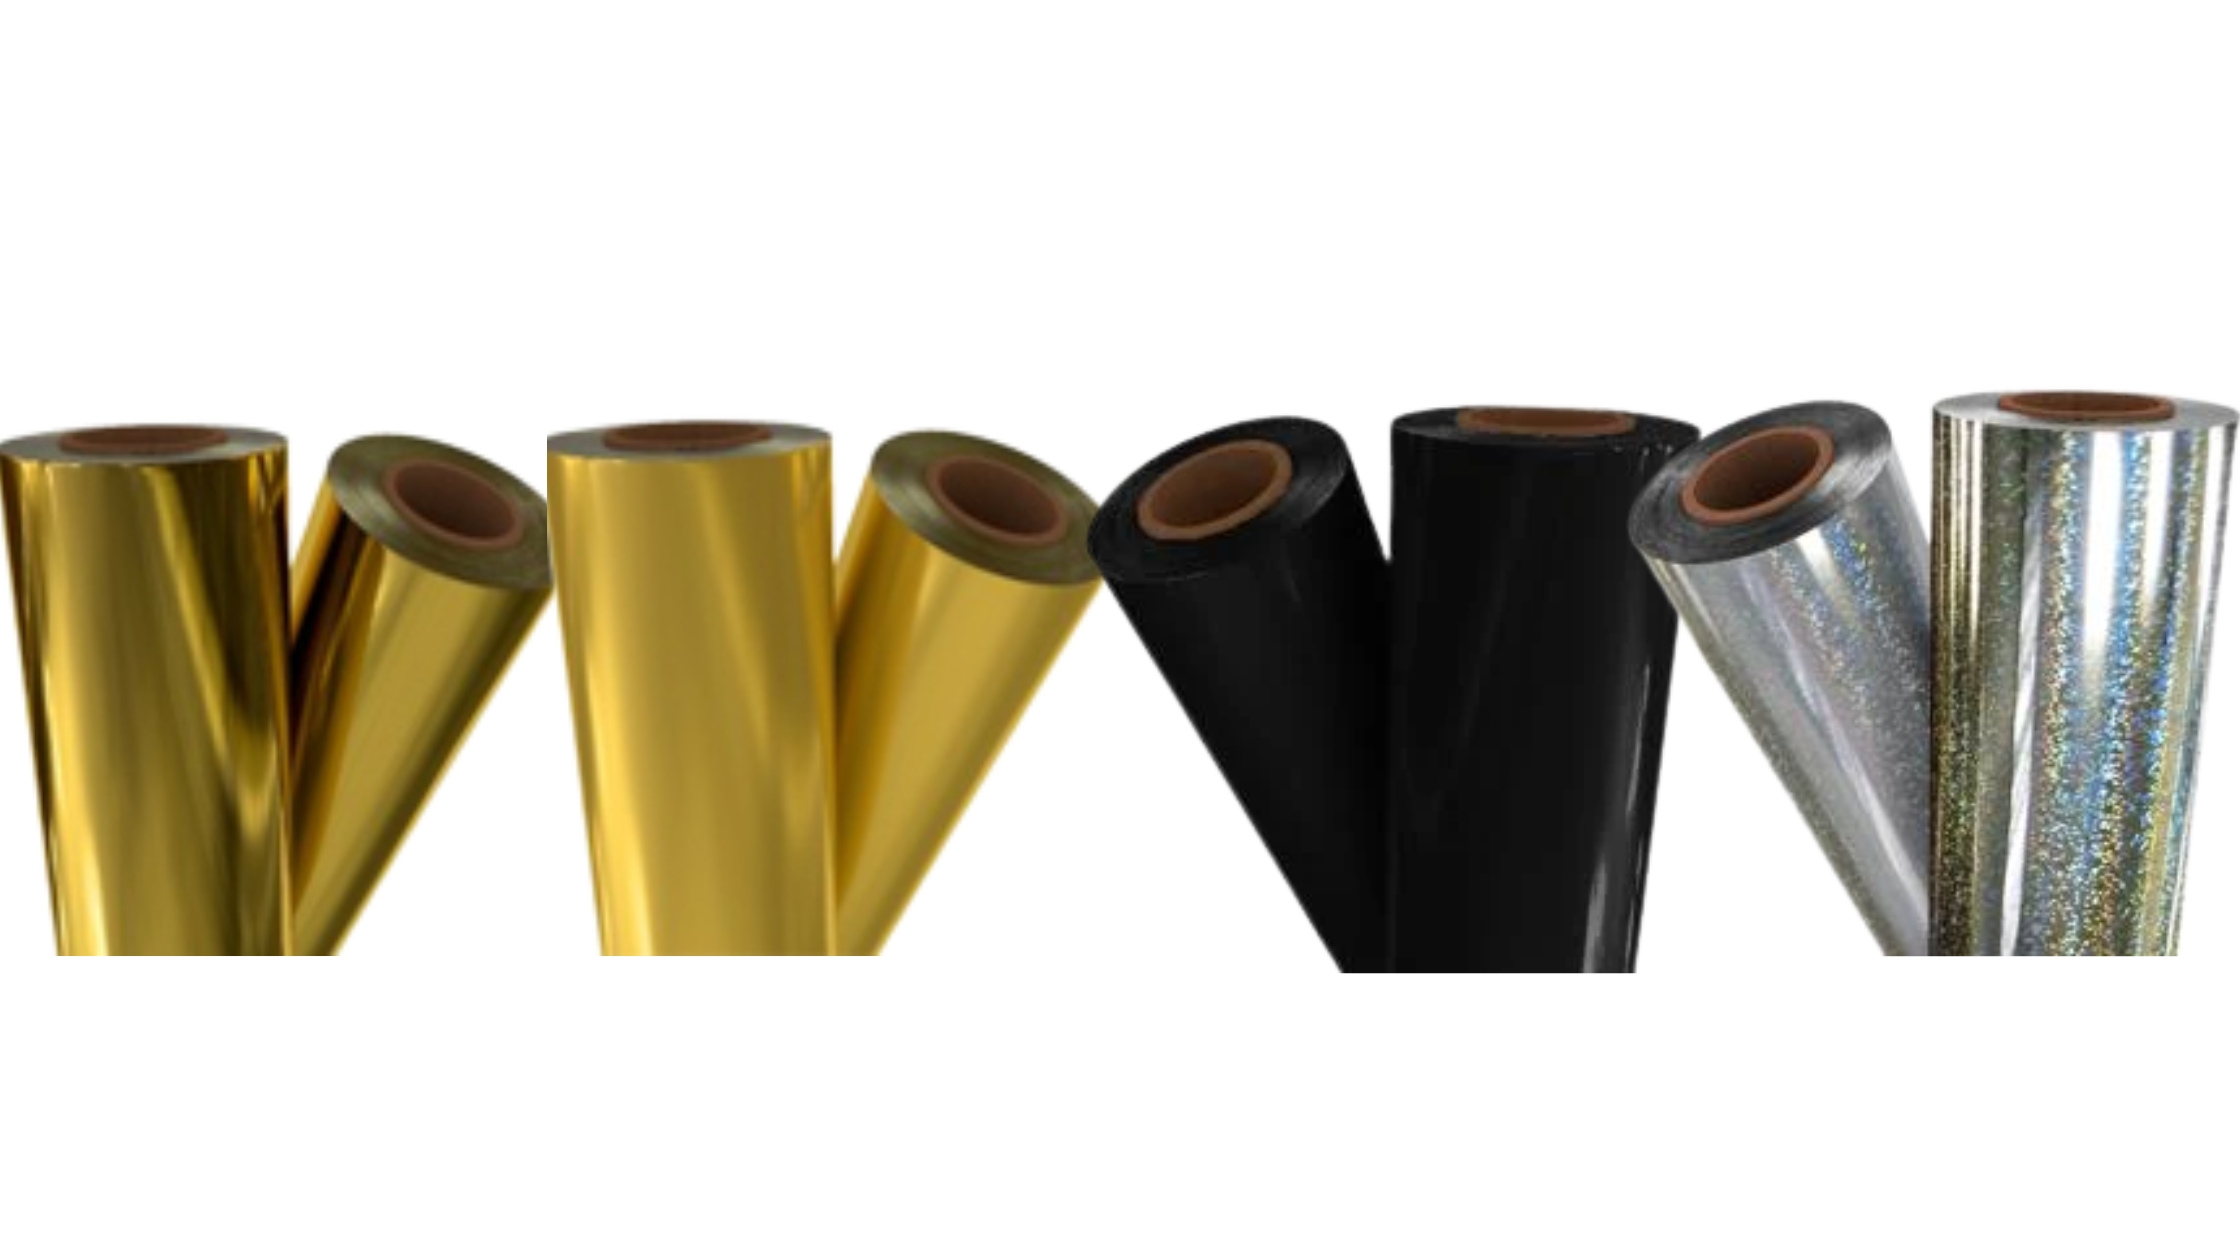
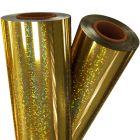
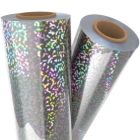
Thermal/toner foil comes in a variety of hues and designs. In addition to holographic patterns with transparent or silver backings, glitter, and iridescent possibilities, solid colors are also offered in metallic, matte, or gloss pigment options. The various types of foil available right now are listed below:
Is die required to foil?
Thankfully, no. Our unique thermal-reactive foils aren't heat-stamp foils; therefore, they don't need a special die.
Will the foil stick to different colors of toner?
Although most foils will adhere well to any toner hue, black delivers the thickest saturation and will therefore produce the greatest results. Using colored toner is only advantageous when using a transparent holographic foil because the toner will be concealed by the foil anyhow.
What's the price of foiling?
The actual cost of foil will vary based on several variables, including the paper stock, the printer and toner you use, the laminator or foil fuser, the type of foil, and the process (laminating or fusing). However, customers can often anticipate paying only $0.04 to $0.08 every 8-1/2" x 11" letter size page.
Should I get a foil roll cutter?
Your machine will have a core size restriction and might only accept a particular foil width when utilizing the foil fuser method. Therm-O-Type foil fusing machines, for instance, employ 1". Each machine has a different tolerance for width and core foils. Foil rolls with a 1" core, however, are only offered in 24 or 25" roll widths. Thus, if your device requires a 12" With a foil roll cutter, you can divide that single roll into several usable ones.
Is it possible to foil multiple colors on the same piece of paper?
Yes! By simply cutting the pieces and arranging them on the toner, you can use as many or as few colors as you like when laminating because you have complete control over where the foil is placed on your sheet. If using a foil fuser, print your first toner, run it with color number 1, then add your second toner, run it with foil number 2, and then add your foil.
Which paper works best for foiling?
A smooth, untreated sheet of paper is going to work best for foil fusing. Some very lightly textured pages might work, but real textured paper with hills and valleys won't allow the foil to adhere correctly. Glossy coatings will resist foil and might not produce a fully foiled appearance.
Will your foils work with Minc machines?
Yes, thermal toner foils will function with almost any heat source, even the Minc machines (which are essentially little laminators). According to our experience, Minc machines are not hot enough to operate with all foils, and without a heat- or speed-adjustable feature, the finish might not always be flawless. Because of this, we advise using a foiling laminator instead.
What is the smallest print foil will stick to?
We've tested text with a nice foil sticking that is as small as 6 pt. Anything smaller typically lacks sufficient toner saturation to draw the foil.
Is it possible to make stickers with foil?
Yes, many of our clients create metallic stickers using our foil in combination with their sticker materials. For the best adhesion, just make sure the paper is smooth and uncoated.
How do you foil?
Okay, let's get to the how-to now, shall we? There are two recognized ways to foil: using a pouch laminator or a foil fusing machine (for huge volumes). However, I haven't had the chance to try that out yet so I can't say how well it works. Some customers also get inventive and try it with irons. Let's discuss foiling with a fusing machine and foiling with a pouch laminating machine now.
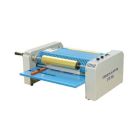
Foiling with a Foil Fusing Machine
Like a roll laminator, a foil fuser uses a heated roller to apply toner foil. But only in areas with dry toner will the foil bind. The procedure is more automated when the metallic foil is applied to documents using a Foil Fuser Machine. Instead of inputting individual cut sheets, foil fusers let the operator use whole rolls of foil. Both costs of labor and foil will be significantly reduced if large works are scheduled for use of foil fusers. They don't need any training and are simple to use. They make it possible for novice users to quickly develop products that seem professional.
You’re going to need:
- Foil fusing machine that’s compatible with Toner Receptive Foil
- Photocopier or laser printer that uses toner instead of wax-based ink.
- Roll of Toner Receptive Foil
Steps to Foil with a Fusing Machine
As each machine will have unique step-by-step instructions that differ, I won't be able to offer detailed directions for foiling using a fuser. Therefore, looking at the foil fusing equipment we offer, you will notice instructions for various kinds.
You may utilize a TON of different foil colors, such as holographic designs, bling, and much more. Toner adhesion foiling can give your documents a brilliant finish! There are numerous colors and designs available for special toner adhesion foil. You can add foil to specific areas of your document or the entire thing because the glue on the foil only adheres to the dry toner in many black-and-white copy machines and laser printers. When making accents for craft projects, business cards, or letterhead, adding flair to weddings or other invites, award certificates, or anything else that would benefit from vibrant metallic colors, foiling is a very popular option.
Using a Pouch Laminator to Foil:
By cutting a piece of foil off the roll, positioning it over the appropriate area, putting the paper and foil into a laminating pouch carrier, and then running the assembly through the pouch laminator, you can also apply foil using this method. By applying foil this way, black and white toner-copied or printed papers are covered in a stunning metallic color foil.
You may now effortlessly apply foil to your special papers at home or in the office. Utilizing pouch laminators, foil can be attached to applications. From 4" to 13" wide, pouch laminators are available from MyBinding.com. Use the directions shown below to get started foiling at work or at home.
You’re going to need the following:
- A pouch laminator with adjustable speed and heat. Must be able to handle 10 Mil Pouches and reach temperatures between 250° and 300° F.
- A laser printer or copier that uses toner rather than ink made of wax (the foil will not adhere to waxed-based inks)
- A roll of toner-reactive foil
- Scissors
- Protective lamination pouch carrier
Steps to Laminate Foil
- Get your laminator ready. Foil fusing requires a high temperature (often between 250° and 300° F). Since the foil can vary slightly depending on the type of paper you use, the laminator itself, and the foil, it is a good idea to have enough material to make test runs and alter the settings until you find the ideal foil.
- Start preparing your documents for foiling while your laminator reaches the temperature range.
- Print what you're going to foil.
- Cut the amount of foil you need from the roll.
- You can add foil to any printed area by placing a piece of foil over it and then carefully placing the object into a laminating bag carrier. You must be very careful not to let the foil slide at this stage or the foiling won't stick.
- When your laminator is ready, take the pouch carrier with the paper and foil inside and feed it into the laminator. The foil will bind to the ink on your sheet when heated by the pouch laminator, transferring the foil.
- You need to cut away any extra foil when the paper exits the other side of your laminator and let it cool.