How to Make Your Own Chore Charts

First, we went to ChoreCharts.com and picked out exactly what we needed. ChoreCharts.com has hundreds of styles and designs, and not just for chores. On this site, we found options for chore charts, behavior charts, and reward charts. Even with six kids of all different ages, we were able to find designs that matched each child's personality.
As alternative, you could create your own chart in Excel with specific things, such as your child's name, what type of chart it is, what is expected, days of the week, measures for rewards, etc. Once you've customized your chart, simply print it out. You could even use paper printed with a pale design and get the same look we did with the benefit of having exactly the image and text you want.
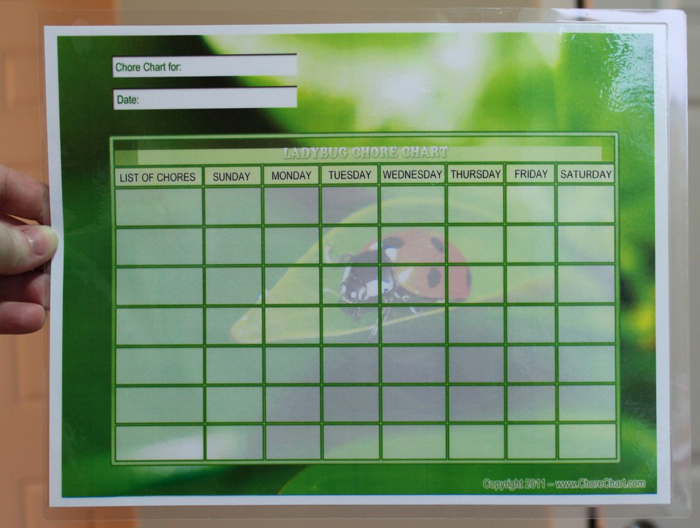
Either way, the first step is to choose a chart and print. You may choose to mount your chart onto colored cardstock to add a border as well as support. For this demonstration, we used a lady bug chore chart without a backing.
Next, we laminated each chart. This process is so simple that Tarragon's pre-teen daughter, Alex Rose, was able to do this without any help. Granted, this was not her first experience with a laminator. In their house, things are laminated often and she has been taught how to safely use this particular laminator. Plus, there were two adults supervising the entire process.
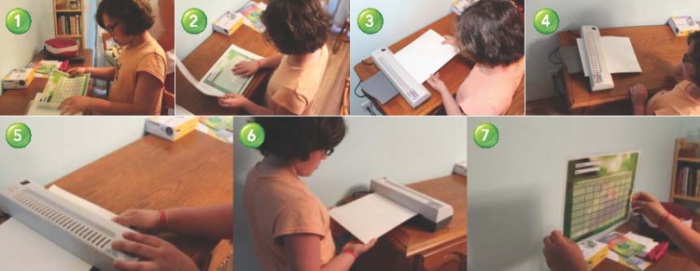
1. First, Alex put the chart into a laminating pouch, lining it up carefully. Laminating pouches come in a variety of thicknesses, ranging from three mil up to ten mil on average. The higher the mil, the thicker the laminate, the more protected your materials will be. For our purposes, we used five mil laminate.
2. Next, she put the pouch into a laminating carrier. Carriers are always a good idea to use, even if your machine doesn't require one. Carriers protect the rollers from coming into contact with the laminate. As a result, your machine will last longer and your laminated materials will be smoother and cleaner.
3. After the materials in the laminating pouch are lined up in the carrier, Alex inserted the carrier into the laminator, crease end first.
4. As she gently fed the carrier into the laminator, the machine grabbed onto it and took over. Lamination works fairly quickly, even on this home device. This specific laminator is the GBC Creative 9, a nine-inch pouch laminator perfect for home and small office applications. The laminator pulled the item through, sealing as it goes.
5. Alex watched to make sure it stayed straight. When it appeared to be slightly crooked, a light tug kept the carrier from jamming the materials.
6. Just to make sure it didn't fall and wrinkle, she waited for it to finish. The laminator could just as easily have been placed further on the table so that upon exiting it would simply lay flat.
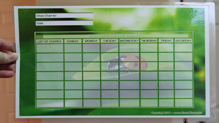
7. There you have it, a perfectly laminated chore chart! While we took several pictures to be able to show the entire process start to finish, the whole thing only took a few minutes.
And here is a close up of the finished product: